Gun rust: None of us want it to happen, but unfortunately it does.
As the old adage goes, rust never sleeps.
Rust can occur on guns for a variety of reasons.
Maybe you bought an antique; maybe moisture got into your safe; maybe your firearms were rained on while you were shooting.
Whatever the reason, how rust gets to your guns is less important than the timely action you take to deal with the problem.
Can Rust Be Removed from Guns?
The good news is that rust absolutely can be removed.
It wasn't a part of the original firearm, so that means it's not impossible to get off.
Depending on how long the rust was there, you may not even notice where it was once you get it cleaned off.
There may be some corrosion noticeable if the rust has been on the gun for an extended amount of time, but even this is not the end of the world.
As long as these minor defects don't impede the operation of the gun or otherwise make it unsafe to fire, all the rust has done is give your gun some character.
How Do You Remove Rust from a Gun?
In many cases, some gun cleaning oil and a little elbow grease will probably be enough.
But if it looks to you like that alone may not do the trick, there are a few other options you can explore.
STEP ONE
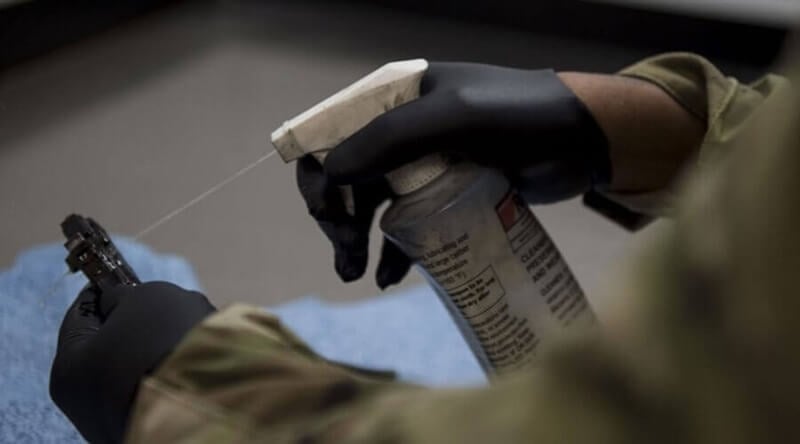
Soak the parts in a cleaning solution


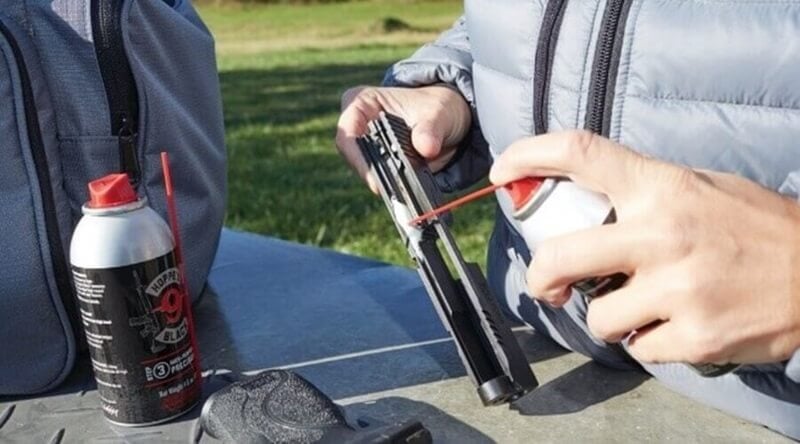
Soak the rusted offenders in a cleaning solution for a while.
This can be the oil you normally use to clean the gun or a gun solvent.
Emphasis on the gun solvent.
You may have some household solvents or cleaners that would make quick work of the rust, but if they aren't designed specifically for use with firearms, you should stay away from them.
The metal parts of guns that can rust are often given special coatings or treatments, such as bluing, that can be negatively impacted by the formulas of household rust removers and other solvents.
That bottle of CLR under the sink may be tempting to use, but if it strips off the coating or harms the specific treatment that was applied to your gun, you're actually running the risk of making things worse.
Those coatings may have been the only thing preventing the rust from spreading.
Better to be safe than sorry; these guns ain't cheap.
After applying a healthy amount of cleaning solution to the gun, you may find rust wipes right off.
STEP TWO
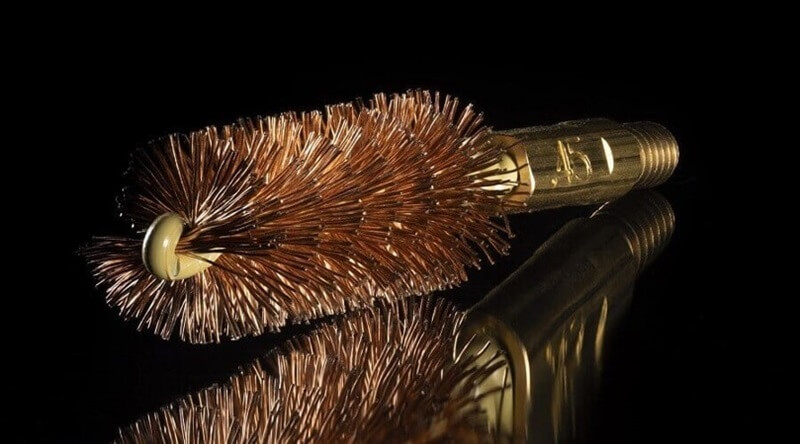
Use a copper bristle brush or cleaning kit


If the rust is more stubborn, it's time to break out the big "guns".
A good old-fashioned copper bristle brush will likely do the trick.
Many gun cleaning kits come with one, and this is the perfect opportunity to use it.
If you don't have one of these brushes handy, use steel wool or another type of metallic dish scrubber.
Some things to keep in mind are to not use too much pressure and don't use anything that has a more aggressive texture than your gun does.
You don't want to destroy the finish trying to get the rust off, because that doesn't put you in a better position.
Think of it like you're brushing your teeth: Only use as much pressure as you have to.
What NOT to do When Removing Rust from a Gun
If you have a Dremel or another mechanical tool that could be used to scrub the rust, it might be tempting to use it to make the process easier.
Using a tool like this can be risky, though, because it's easy to inadvertently press too hard or scrub for too long and end up damaging your gun.
If it doesn't come off with a brush and soaking, repeat the soak and scrub process.
Do this as many times as you need to instead of over-scrubbing the gun.
You may also be tempted to try some outside the box thinking when it comes to rust removal. And who could blame you?
Plus, when researching gun-safe rust removers, you may stumble on some information that encourages you to use other substances that are hailed as effective cleaners but intended for other uses — things like sodas or fizzy drinks, for example.
While there might be ingredients within those drinks that are acidic enough in nature to impact rust, the sugar and other substances can be extremely harmful to the firearm.
Stick with solutions that were designed to remove rust from a gun safely.
Protecting Against Rust Moving Forward
After doing all that work, you certainly don't want to deal with a repeat performance.
Once you've removed the rust, take steps to ensure it doesn't find its way back.
It's a good idea once the gun is completely rust-free to wipe it down and dry it thoroughly.
After that, give it a thorough inspection to ensure you didn't miss any rust spots; those small places become big places quickly if left unchecked.
When you're completely satisfied that you've removed all the rust, give the gun a coat of protective oil of some kind to make it harder for new rust to occur.
There are specific oils meant for this, but your regular gun oil should be sufficient.
Just make sure you've got a solid light coat over any potential places rust could appear.


If you know the gun is going to be stored for an extended period of time, you can use something like a packing grease.
No matter which method you choose, just keep an eye on it and check for gun rust regularly to watch for any new rust developments.
Dealing with rust isn't fun. None of us want to do it.
Unfortunately, it's a fact of life for gun owners and something everyone must know how to address.
Thankfully, with a little preventive maintenance and perseverance, you can at the very least take care of rust, if not totally prevent it.
Step-by-Step Gun Rust Removal
Step 1: Gather the Necessary Materials
You'll need rubber gloves, safety goggles, a soft-bristle brush or toothbrush, gun oil, a clean cloth or paper towels, rust remover (such as naval jelly or a commercial rust remover), and fine steel wool or sandpaper (optional).
Step 2: Ensure Safety
Before starting the rust removal process, ensure the gun is unloaded and there is no ammunition nearby.
Work in a well-ventilated area or outdoors to avoid inhaling fumes from the rust remover.
Step 3: Disassemble the gun (if possible)
If you're comfortable with disassembling the gun, it can make the rust removal process easier.
Follow the manufacturer's instructions or consult a professional if you're unsure about disassembly.
Step 4: Protect the Gun's Finish
Use masking tape or barrier cream to protect any areas of the gun that you don't want to treat or accidentally damage during the rust removal process.
Step 5: Apply rust remover
Apply a small amount of rust remover (such as naval jelly) to the rusty areas of the gun.
Follow the instructions on the product for application time and safety precautions.
Step 6: Scrub Gently
Use a soft-bristle brush or toothbrush to gently scrub the rusted areas.
Be careful not to apply too much pressure, as it may scratch the gun's surface.
If needed, you can use fine steel wool or sandpaper (very lightly) to remove stubborn rust spots, but be cautious not to damage the gun's finish.
Step 7: Wipe away Rust Residue
After allowing the rust remover to work its magic, use a clean cloth or paper towel to wipe away the rust residue.
You may need to repeat steps 5 and 6 for heavily rusted areas until the rust is removed.
Step 8: Clean the Gun
Once the rust is removed, clean the gun thoroughly using a gun-cleaning solvent or oil.
This will remove any remaining rust remover residue and help prevent future rusting.
Step 9: Apply Protective Coating
To further protect your gun from rust, apply a thin layer of gun oil or a rust-preventive coating recommended by the gun's manufacturer.
Follow the manufacturer's instructions for proper application.
Step 10: Reassemble and Store Properly
If you disassembled the gun, carefully reassemble it according to the manufacturer's instructions.
Store the gun in a clean, dry, and moisture-free environment to prevent future rusting.

