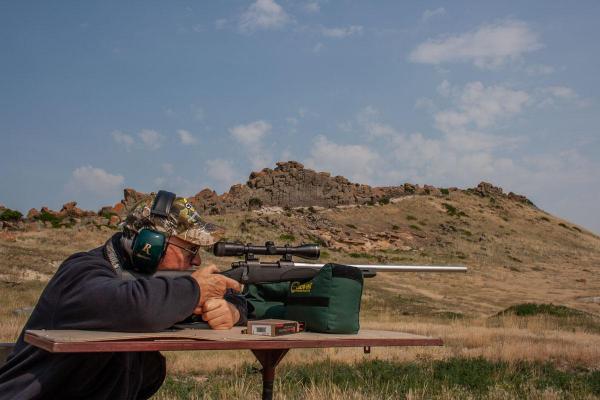
By tuning your BDC reticle you can become a fast and accurate long-range shooter
Shooting at long distance has become very popular. Aside from very expensive electronically assisted optics, there are several ways to do this with precision.
The first and best method is to dial in a firing solution using the scope turrets. The second most effective way is to use an MOA or MIL reticle and apply the exact holdover.
The third most precise solution is a ballistic drop compensating – BDC-style – reticle. While not quite as precise as the other methods, a BDC reticle can be very effective.
BDC Pros and Cons
The BDC reticle has additional aiming points below the centerline of the reticle. These points are positioned to closely match the trajectory of common cartridges at incremental distances of 100 yards.
They’re much easier to use in the field because they’re much less cluttered. However, what these reticles do not do, is – in most cases – offer exact trajectory compensation.
This is because these reticles are designed to provide the correct hold over for a standardized trajectory.


Most scopes equipped with BDC style reticles also come with a chart that groups ballistically similar cartridges together, and then illustrates how their similar trajectories correspond to the additional aiming points at distance.
But these trajectory groupings do not account for load and velocity variations.
They are a – mostly – close enough for government work solution.
They can frustrate shooters because often at 300 yards and beyond, bullets will not strike exactly on the point of aim when using the corresponding aiming point.
Tuning a BDC Reticle
The key to sorting this out so that you can consistently get accurate hits at distance is most often best done by adjusting your zero.
For example, let’s say that when using the 400-yard aiming point your bullets are striking three inches below the point of aim. If your scope has ¼ MOA adjustments, three clicks up at 400 yards will put you dead on.
Of course, this also changes your point of impact at 100, 200, and 300 yards.
But the change will be less. In this case, three ¼ MOA clicks would raise the point of impact, .75-inch at 100 yards, 1.5 inches at 200 yards, and 2.25 at 300 yards.
This is not a big deal at 100 and 200 yards, and chances are, if you were three inches low at 400 yards, you were also a bit low at 300 yards.
Set a 400-yard Zero
If you were four or five inches low at 400 yards, you might not make a full four- or five-inch correction, because this would substantially affect your point of impact at closer disentrances.
You could adjust so that you were just 1 or 1.5 inches low at 400 yards, and still be very close at closer distances. In other words, you compromise.
The same applies if your bullet is striking high at 400 yards. Adjust your zero so you’re on at 400 yards, and then you’ll be just a tad bit low at the closer ranges.
Essentially, the additional aiming points on a BDC style reticle are just guides – quick reference marks – to get you close.
With a little fine tuning, they’ll generally work very well out to 400 and sometimes even 500 yards for big game hunting, or even for shooting 10- or 12-inch steel plates at the same distances.
Just by minutely tuning your zero they can be wickedly effective. So much so that for big game hunting I much prefer them to other systems.
Learn Where The Dots Actually Strike
However, these additional aiming points can also be absolutely precise. Your scope’s owner’s manual should detail how far each aiming point is below the center of the reticle at 100-yard increments.
You can use this to calculate how much elevation correction each aiming point could provide at any distance.
Just multiply the distance the aiming point is below the center of the reticle at the specified yardage, by the distance at which you’re looking for correction, and then divide by that first specific yardage.
For example, if an aiming point is 1.4 MOA below center at 100 yards, at 200 yards it would provide 2.8 MOA of correction:
(1.4x200)/100 = 2.8. If its 7.2 MOA below center at 400 yards, it would be 6.84 MOA below center at 380 yards: (7.2x380)/400 = 6.84
With this formula and a ballistic calculator, you can fine tune a BDC-style reticle to give you exact correction at specific ranges.
The difference would be that these specific ranges will most likely not be in 100-yard increments.
Regardless whether you use this method or the more common application of a BDC style reticle, it’s imperative that you confirm your point of aim/point of impact by actually shooting at distances you want each additional aiming point to represent.
